Asana Best Practices For Project Management
Knowing what the best practices are for using Asana can help you get much more out of this powerful project management system, and avoid those common pitfalls that can slow you down, or tie your processes up in knots.
When you’re working Asana into your project management processes, and your tech stack, you’ll likely find that it’s a flexible project management tool that makes intuitive sense. However, the documentation can be a little lacking, in that it’s tricky to look up what you don’t know. We’ve compiled ten pieces of advice and best practices that can help get you off to a strong start or level up your Asana usage if you’re already an active user.
Already using Asana? Visor has a two-way integration with Asana, making it easy to create Asana Gantt charts across your portfolio of Asana projects. Try Visor for free to see why PMs love us!
Asana Best Practice Tip #1: Never start from scratch
It can be tempting to open up any new tool and try to start completely from scratch, wanting a “clean slate.” But that would make you miss out on Asana’s array of powerful, thoughtfully-designed templates, which you can find here.
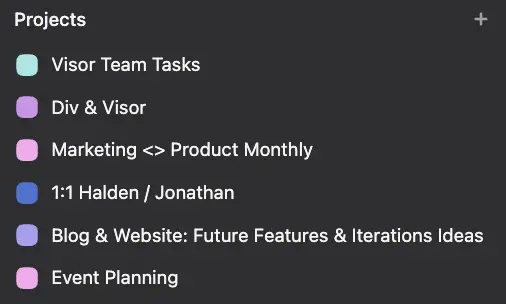
How do you know what templates will work best for you? Asana offers a few different types of views: kanban board, list, calendar, and timeline. Each one has its pros and cons, but generally, you can slot different project types into each one.
- Kanban: Team “ticket” based work, work that has multiple stakeholders for different stages
- List: Work with many dependencies or sub-tasks
- Calendar: Anything that demands strict schedules or release dates
- Timeline: Work that you need to monitor at a very high-level based on time, especially with overlapping tasks
Just need more functionality than that? Compare Visor and Asana!
Asana Best Practice Tip #2: Make the dashboard work for you
Once you have a project set up, Asana offers a dashboard view to help you get a high-level sense of what’s going on. This is critically important if you’re managing a full team in Asana, as the dashboard will offer you insights into what’s working and what isn’t quite where you want it to be.
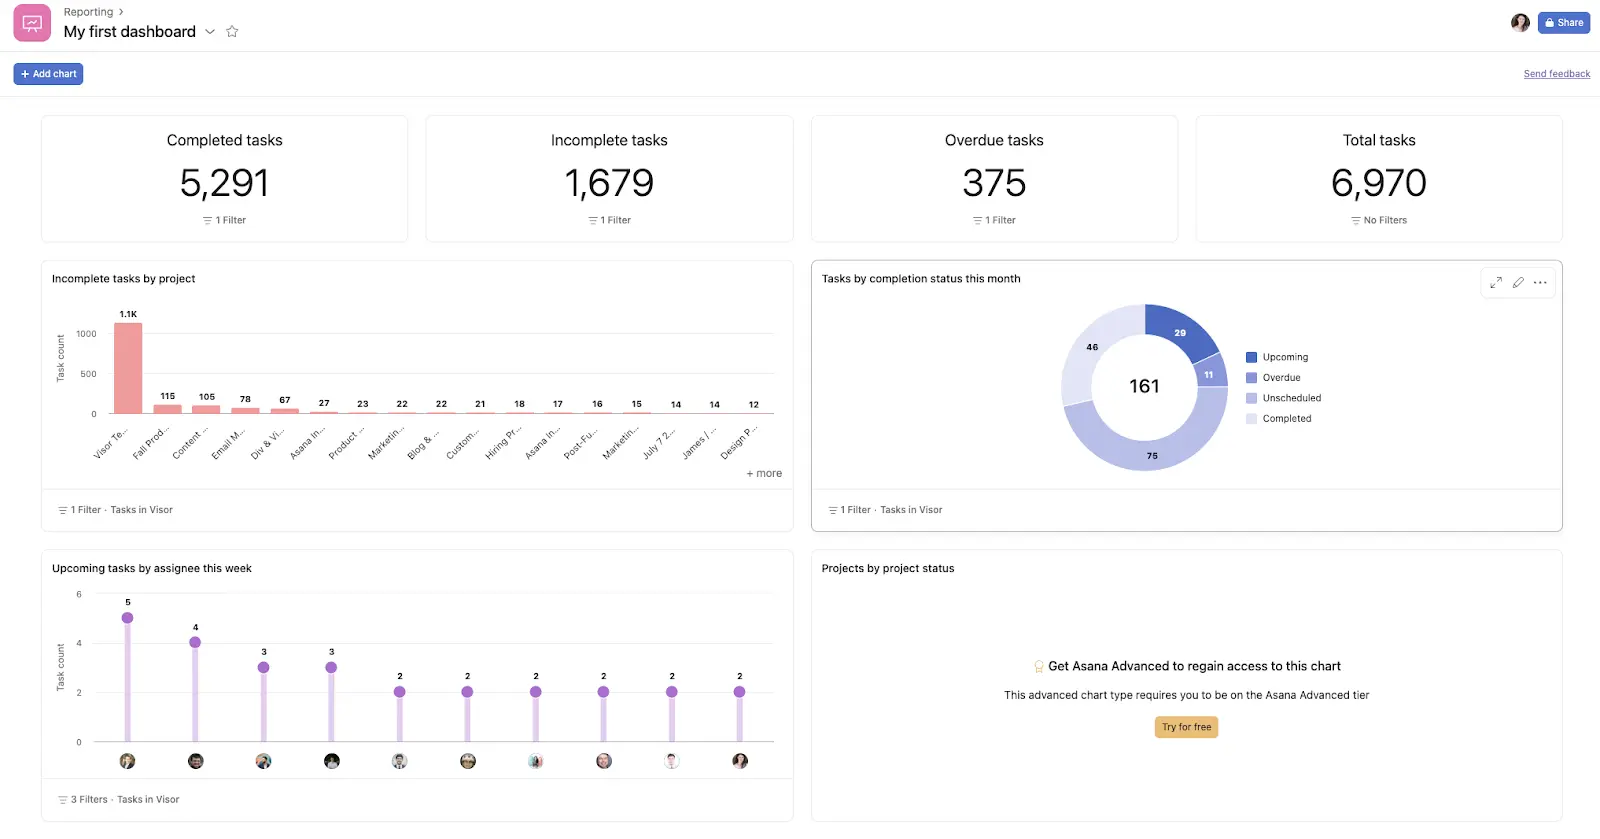
But you don’t have to stick with the default dash. You can customize your dashboard to fit your preferences and add a wide array of different charts, views, counts, and other important information. Setting this up thoughtfully and with stakeholders in mind can make presenting your Asana data much faster and easier.
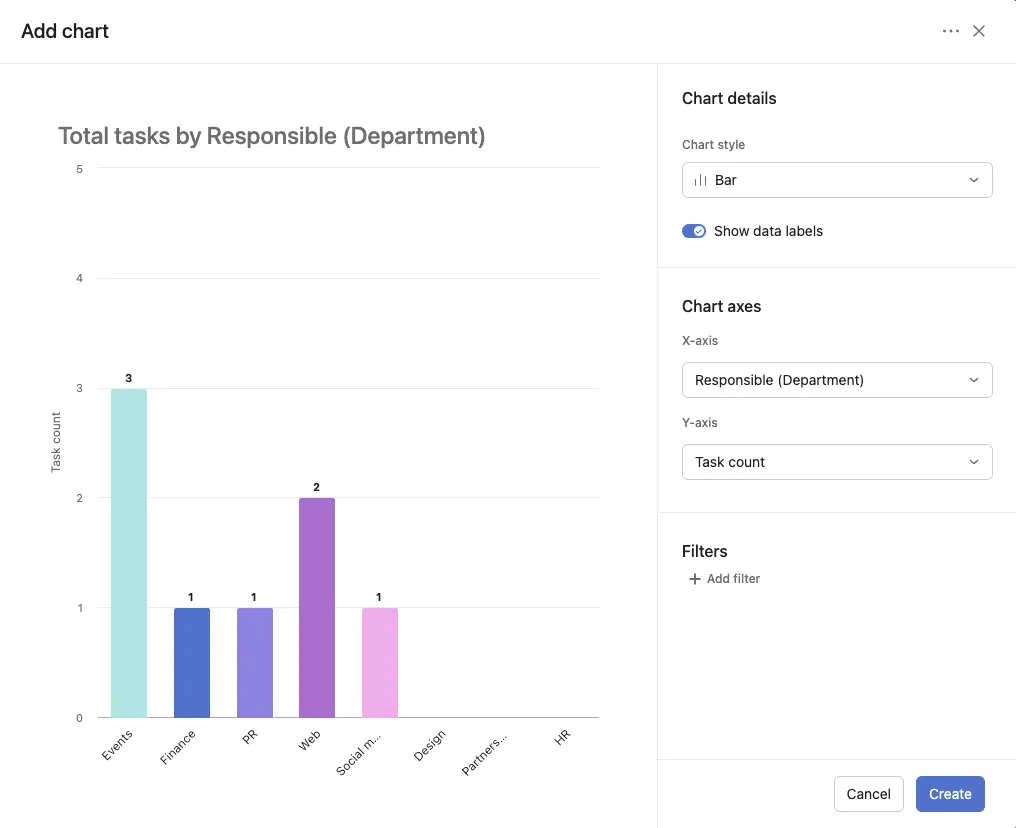
If you need more help in creating sharable, clearer, dashboards with your Asana data, then you should check out Visor, which integrates with Asana and does just that – totally free. Here’s an example of a similar chart breakdown in Visor’s Dashboard view.
Dashboard charts in Visor
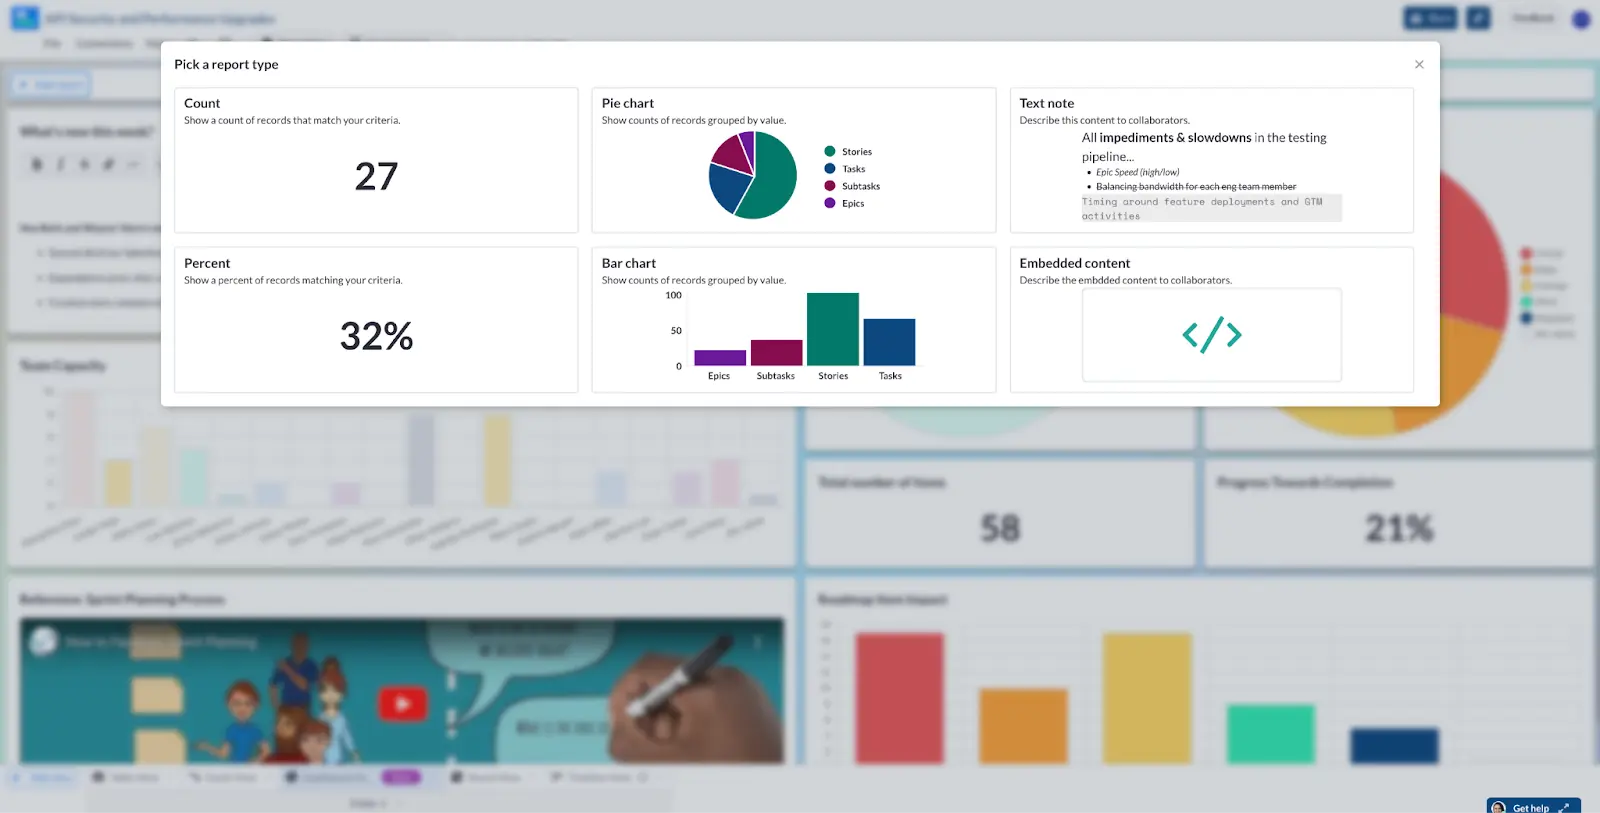
You can even export your Asana data into Visor and work with the same data in two places, if your team isn’t interested in making the switch to a new tool.
Asana Best Practice Tip #3: Kanban boards can be more than a to do list
In spite of having several other view options, Asana was built on kanban boards, and this remains what it’s most known for. And that’s just fine! Asana’s kanban features are robust and helpful for all sorts of projects.
But if you’re limiting yourself to a three stage workflow – To Do / Doing / Done – you’re limiting the potential of the kanban board.
Asana integrated Visors Kanban view
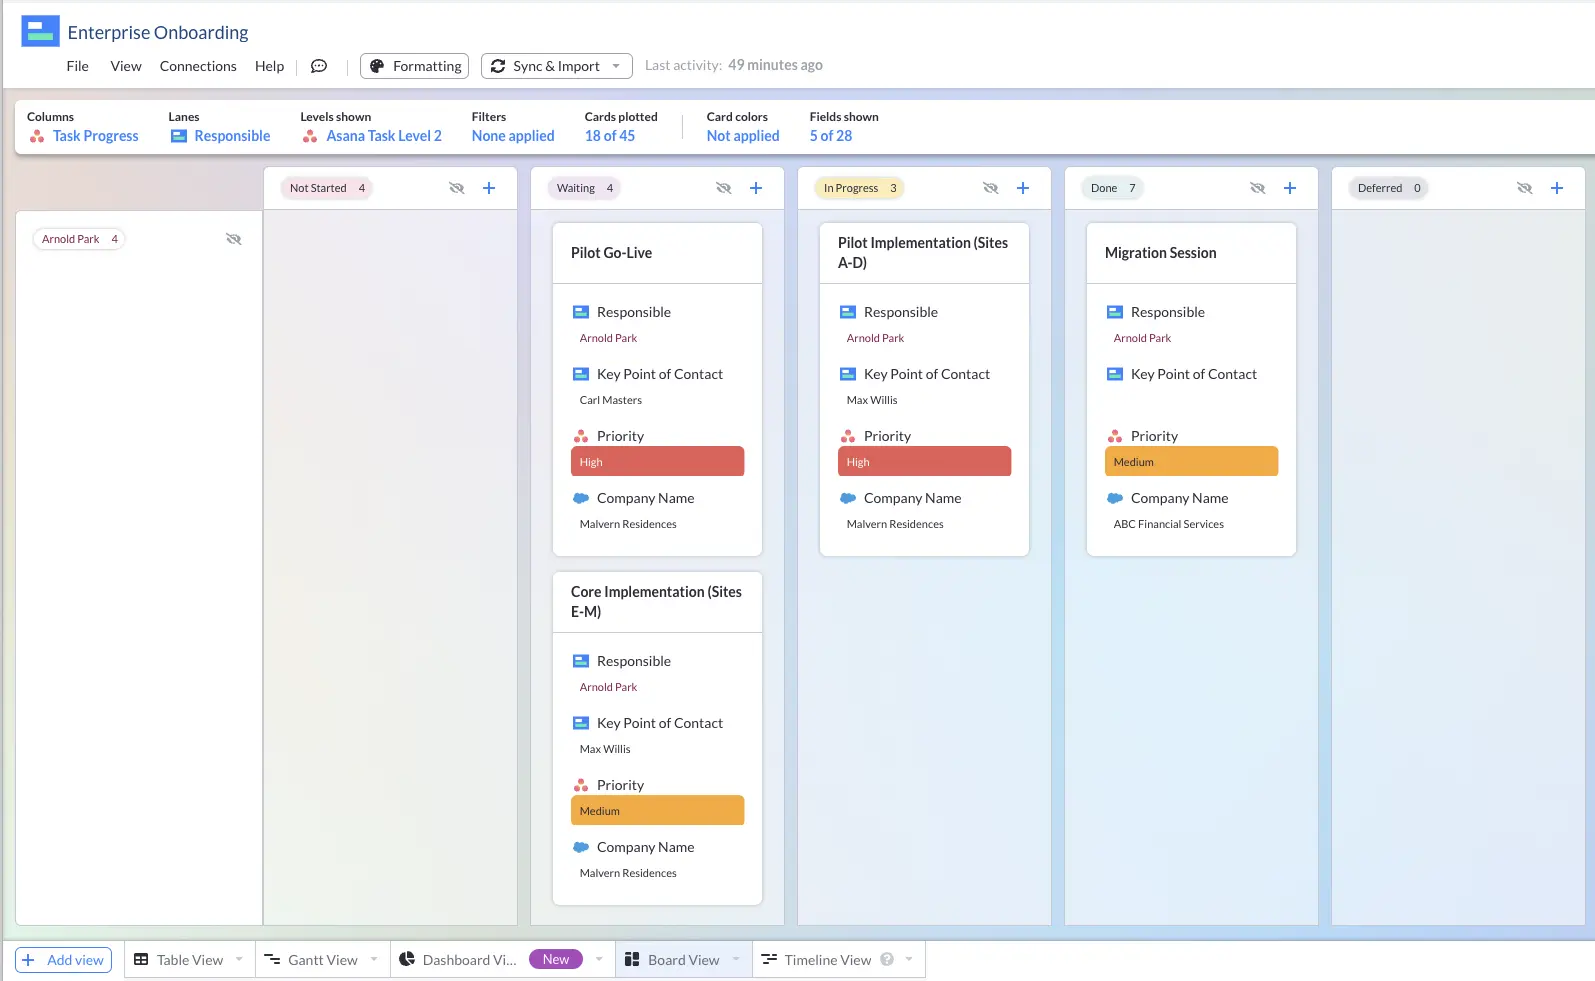
Think outside of that flow and experiment with more ways to engage with the view. We have a guide to help.
Asana Best Practice Tip #4: Use documentation
Documentation is the secret key that saves you and your team time, effort, and energy, while minimizing mistakes and avoiding issues that might otherwise stop a project dead in its tracks.
Bonus Tip: Go to the settings, turn on “Extra delight” under hacks, save and navigate to any other page. Hold down the Tab and B keys at once. Thank me later.
When introducing any new tool, including Asana, to your team, you’ll want to write down, exactly and specifically, how you’d like your team to use it. This avoids a lengthy onboarding process with tons of back and forth slowing everyone down, and it also helps everyone engage with the tool in a predictable, useful way.
Decide right away how you’d like your team to use Asana. Should everyone follow a specific naming convention? Do you need to make sure a subject is tagged for a hand-off, or is it enough to move an item to a different status? Maybe you want the whole team to set up a Slack alert when they’re mentioned in Asana, or maybe it’s enough for your team to check the app every day. Whatever you go with, commit and document.
Asana Best Practice Tip #5: Get your team onboard
Once you follow the step above, this step becomes much easier, as knowledge of how to use a tool is often reported as one of the biggest barriers to entry for software adoption.
Onboarding your team into Asana isn’t a huge chore. If you document the process up front, one training session should be more than enough to help get your team into the tool and actively using it.
Try Visor, a free app which integrates with Asana to make your data come to live with bold, crystal-clear visualizations that will wow stakeholders and give your team powerful new insights. Get started for free!
You might consider filming yourself doing a walkthrough using a tool such as Loom so that your team can replay the video rather than needing to contact you for basic questions.
Asana Best Practice Tip #6: Don’t ignore your personal views
Juggling a lot of projects at once? Maybe managing multiple deliverables? Or serving as a last pair of eyes on a particular set of items? It can be all too easy to lose track of individual tasks once you’re using Asana at scale.
Solve the problem by paying attention to the “my tasks” board view, which allows you to see only the tasks currently assigned to you, cutting through the noise of multiple stakeholders and contributors in multiple projects.
You can customize this view to help make it easier for you to use it, too. Here’s an example of how I have mine set up, tracking how long I have to get a particular task across the finish line, with space for tasks that are in someone else’s hands or on hold.

Asana Best Practice Tip #7: Create teams to improve group focus
If you’re working with large teams in Asana, you’re going to discover that a single space to work on your projects will grow chaotic and confusing in a hurry. The first way to keep it streamlined is by making use of multiple teams.
If the design team doesn’t need to work closely with the finance team, why should they need to worry about one another’s task lists? Dividing your people into different teams helps minimize noise and avoid losing sight of particular tasks.
Creating teams also gives you another angle to capacity management in Asana. You can take a view of each capacity and available resource, both at an individual level and a team level, depending on which best fits your method of working or the demands of particular projects.
Simply set up teams based on the types of projects they’ll be involved in, and when you create new projects you can specify which teams will work on them.
Asana Best Practice Tip #8: Don’t cram everything into one project
It may be tempting to make one system that you really like and use it for everything. But this will end up backfiring in the long run. As you scale your projects to greater heights, Asana is more than capable of scaling with you. But only if you make room for your projects to breathe.
Like cramming everyone into one team, limiting all your work to a single “project” view leads to confusion and important tasks falling through the cracks. Instead, make use of Asana’s multiple projects function.
Don’t think of the name “projects” as a limiting factor, either. You can arrange different projects for different types of work, including tracking meetings, creating high-level overviews, and of course working on standalone projects.

Asana Best Practice Tip #9: Color-code to make at-a-glance functionality
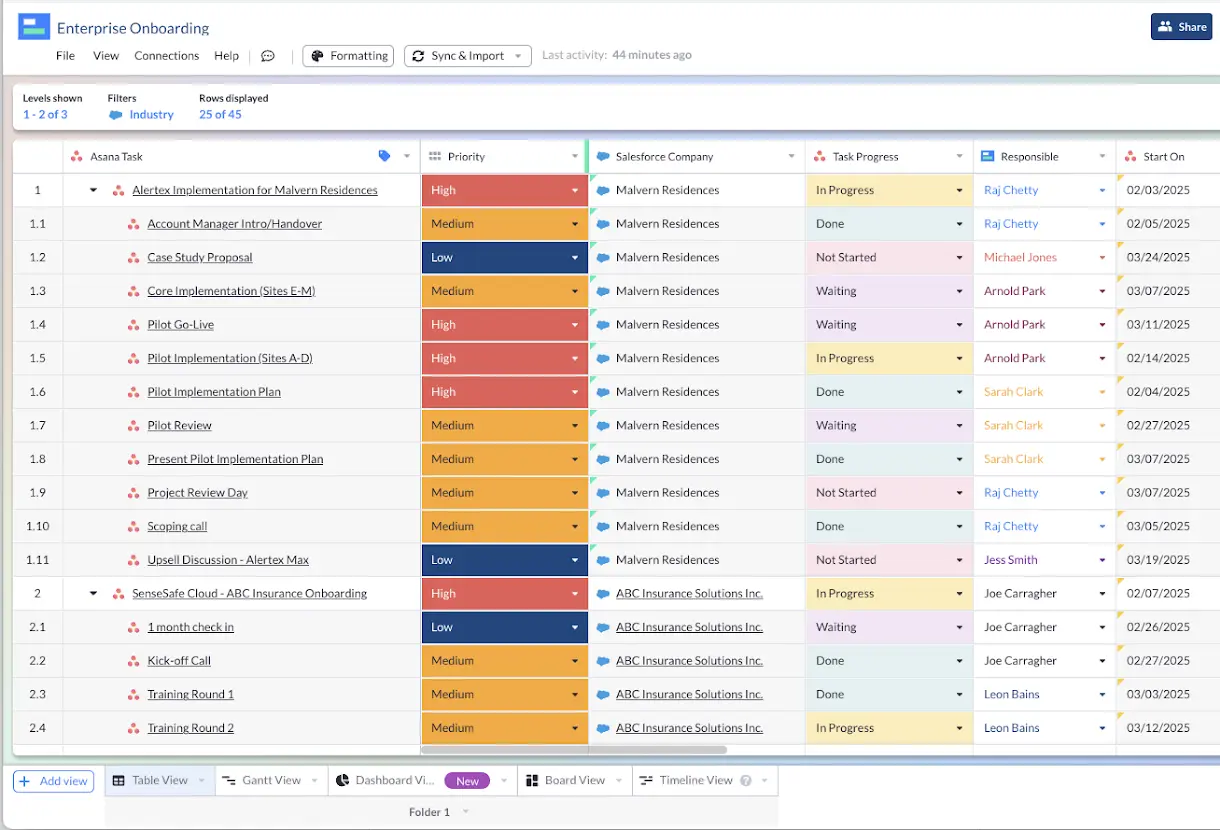
You’ll notice that many of the screenshots above feature different work color-coded project to project. This is a brilliant way to make sure that you can quickly determine differences between different groups and don’t need to waste brain power deciphering which team or project you’re looking at.
Asana offers tons of visualizations and features that allow you to play with color-coding, such as Gantt charts, Timelines, and even Asana milestones.
To take this best practice to the next level, consider employing color theory to make your color coding even more powerful.
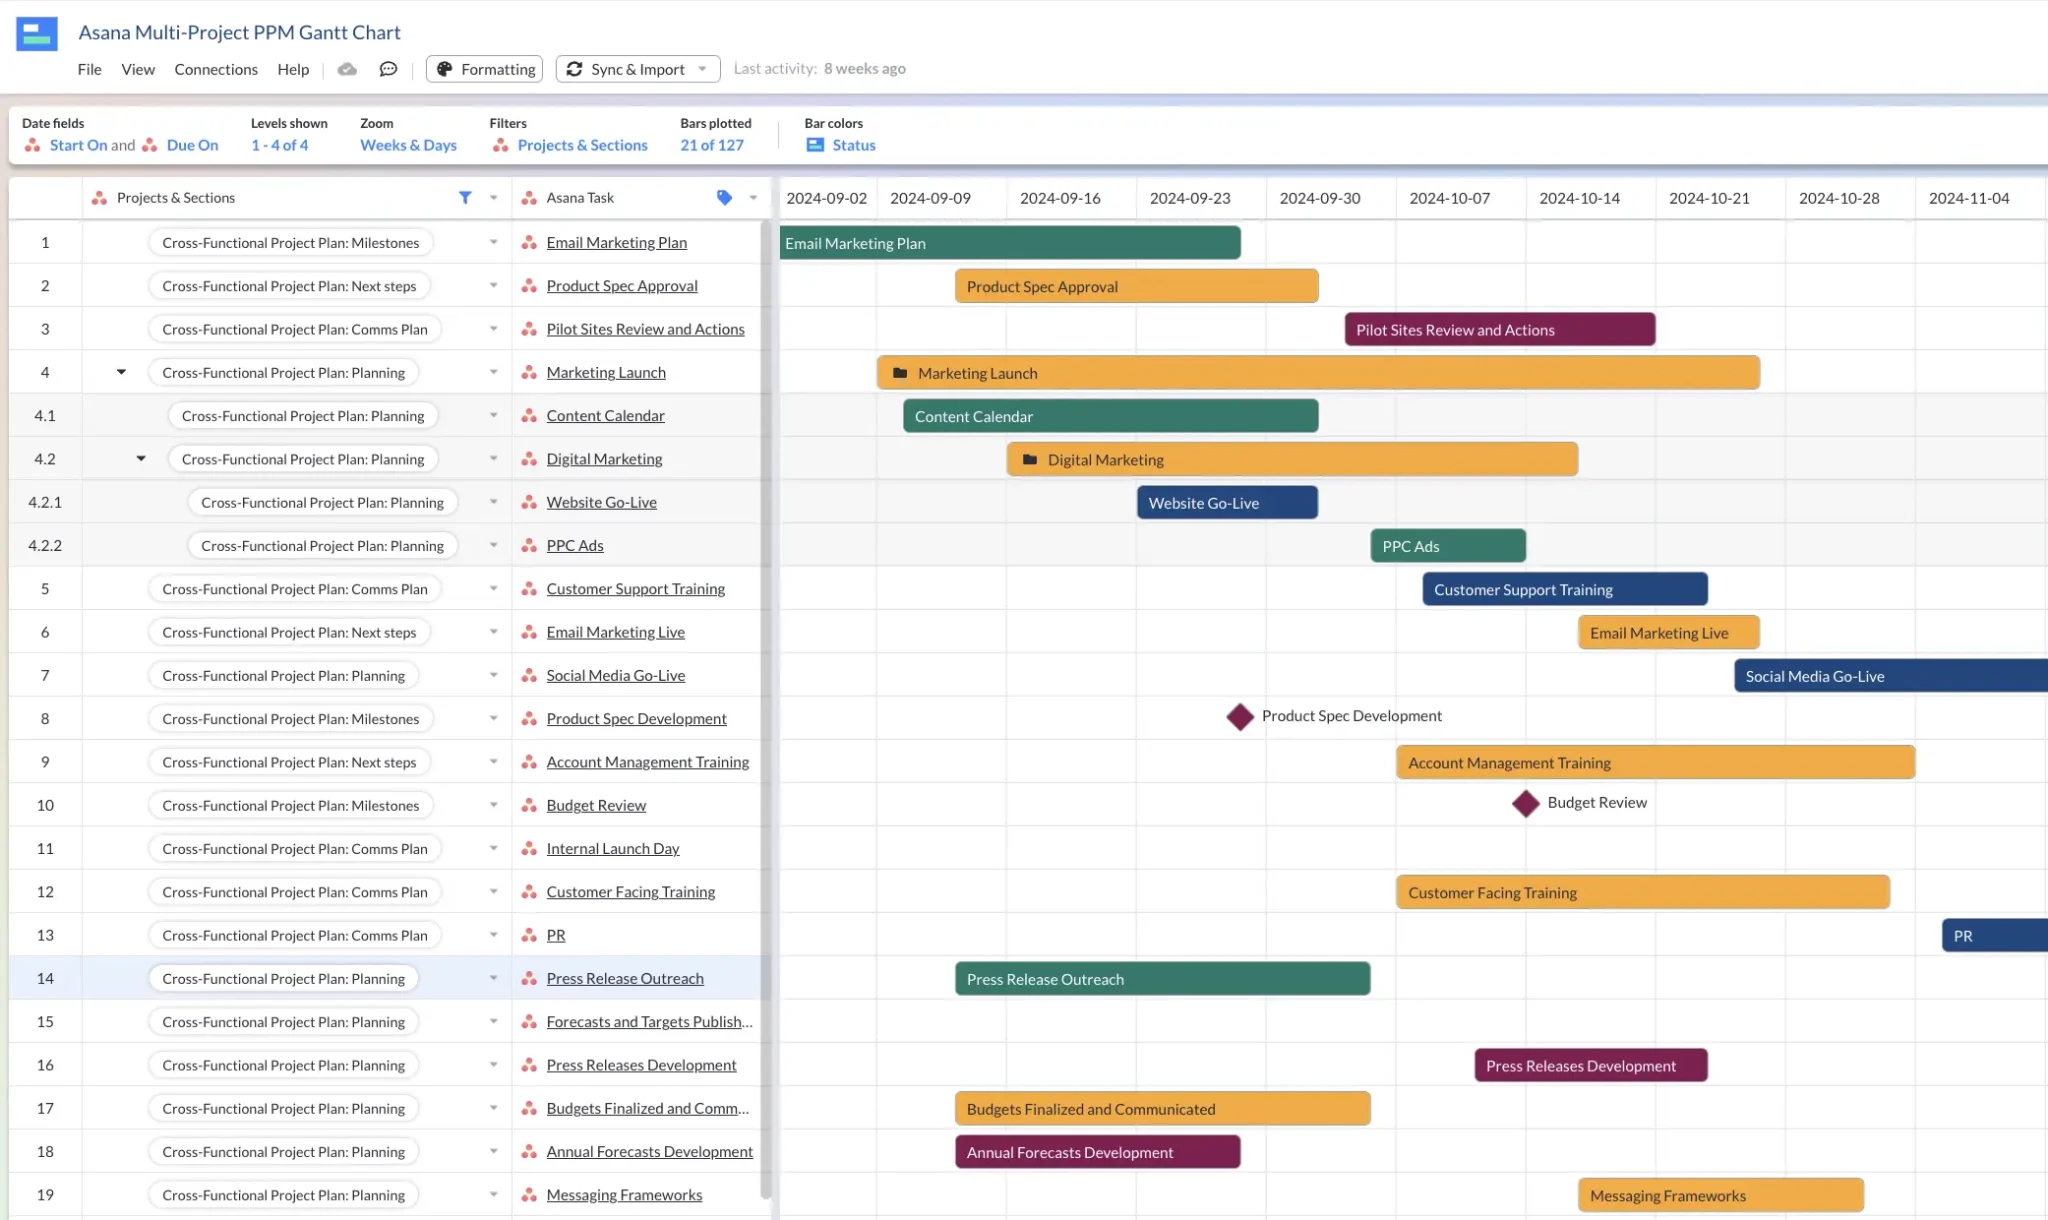
Visor offers Asana-friendly templates you can color-code with more customization than in Asana. Whether you need a simple Gantt chart template or agile templates for sprint planning or even sprint retrospective templates, Visor has it.
Example of Customer Onboarding Template in Visor using Asana Data + Color Coding:
Asana Best Practice Tip #10: Set up recurring tasks
Finally, if you’re finding that you use Asana to do the same or very similar things time and time again, you might be able to save yourself a lot of time, clicks, and stress by setting up recurring tasks.
You can automatically set some tasks to recur based on the schedule you provide. That way you won’t need to make a new ticket every single time the task is going to happen, and you’ll still get that helpful reminder or the task, along with the satisfaction of making it complete.
What Asana best practices made the biggest difference for you?
If you’re using Asana for project management, these ten best practices will help you get every bit of functionality out of the app in a hurry.
And if you’re looking for a way to connect everyone working on a project all at once, no matter what tools they’re using, Visor can help. Try it out right now, totally free, and find out why thousands of project managers are making us their secret weapon.
Thinking Asana might not be right for you? Take a look at our roundup of the best project management tools, and see if something else might be a better fit for you and your team.
Finally, although Asana is one of the better “all-in-one” style project management systems, it can still be enhanced, both with Asana marketplace apps (like Visor), and by connecting it with apps you already have in – or perhaps should add to – your tech stack. Take a look at our breakdown of the best Asana integrations for project managers to find out more.
Visor offers a ton of Asana-friendly templates for weekly Gantt charts, along with project roadmap templates and many more.
Example of Project Portfolio Template in Visor with Asana Data:


